3. Schedule the Job with Cloud Scheduler
Now that our ETL function is working, we need to automate it. Cloud Scheduler is a fully-managed cron job service that allows you to schedule tasks, including triggering HTTP endpoints like our Cloud Function.
Prerequisites
- A deployed and working Cloud Function.
- The Cloud Scheduler API enabled in your project.
Step 1: Create the Scheduler Job
-
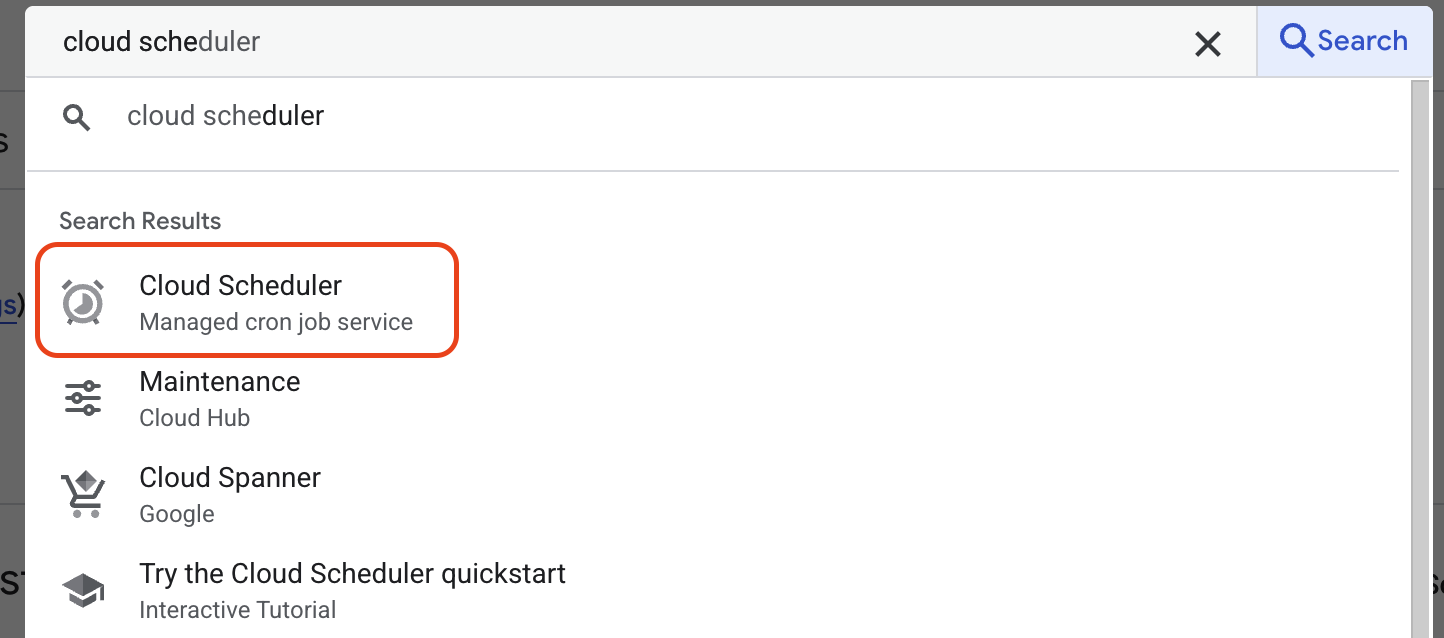
In the Google Cloud Console, search for and navigate to Cloud Scheduler.
-
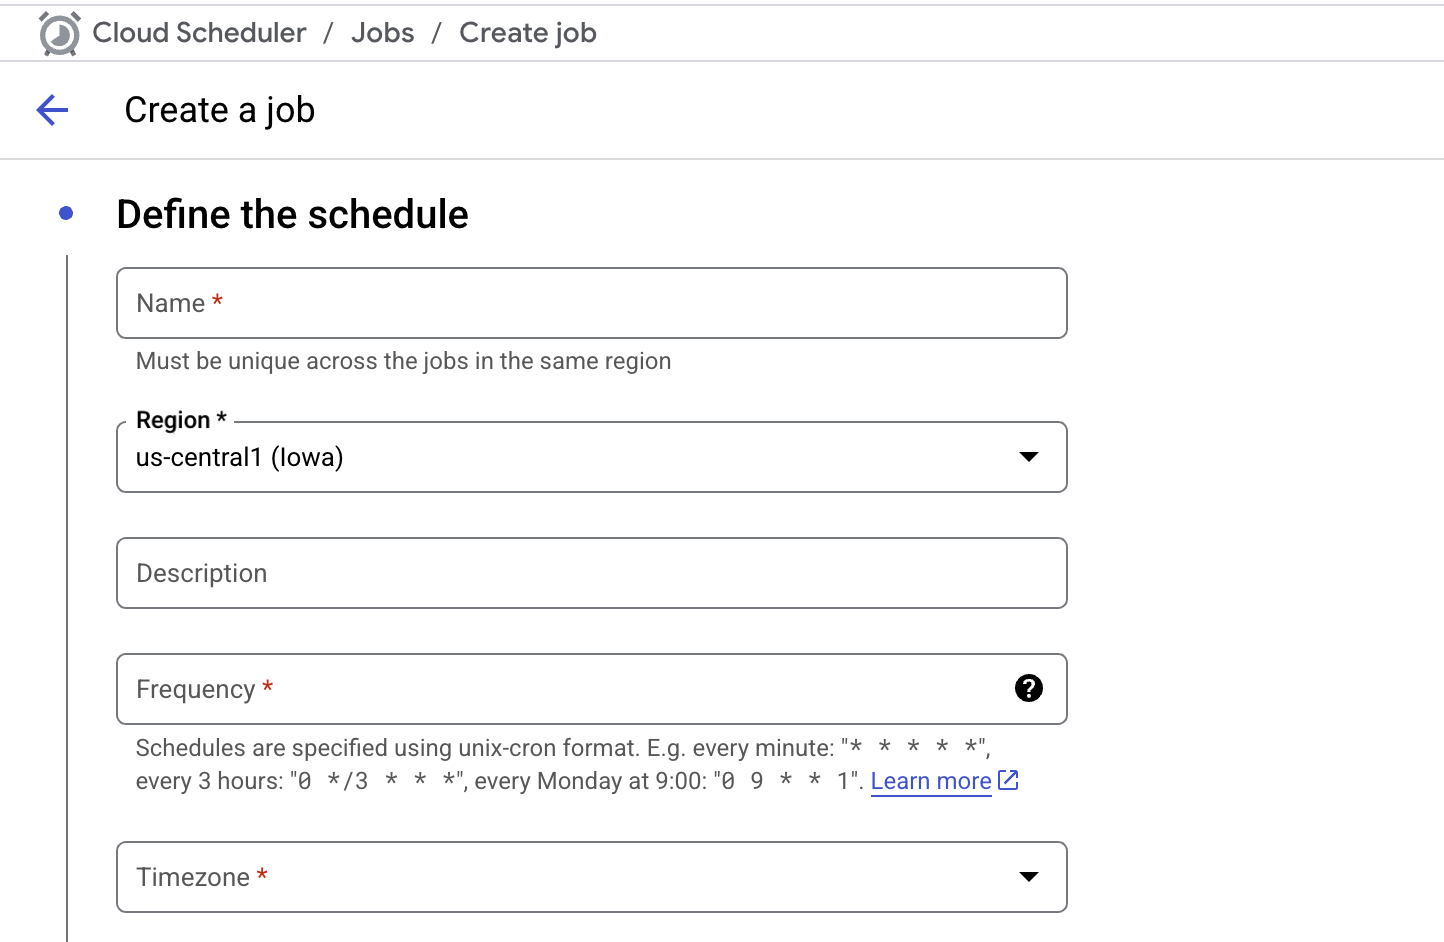
Click CREATE JOB.
-
Define the job:
- Name:
mysql-to-bq-etl-5min - Region:
us-central1(must match your function's region). - Description:
Runs the MySQL to BigQuery ETL function every 5 minutes. - Frequency: Enter the schedule using cron syntax. For every 5 minutes, use:
*/5 * * * * - Timezone: Select your desired timezone.
- Name:
-
Configure the execution:
- Target type: HTTP.
- URL: Paste the Cloud Function Trigger URL.
- HTTP method: GET (or POST).
- Auth header: Since we allowed unauthenticated invocations, set this to None.
-
Click CREATE.
Step 2: Test and Verify the Job
You don't have to wait for the schedule to test the job.
- On the Cloud Scheduler dashboard, find your new job.
- Click the three-dot menu (⋮) on the right and select Force run.
How to Verify:
- Scheduler Log: The Result column for the job should quickly change to "Success".
- Cloud Function Log: Navigate to your function's logs. You should see a new entry showing a successful execution.
- BigQuery Table: Go to your
denormalized_orderstable in BigQuery. The "Last modified" time should be updated, and the "Number of rows" should be greater than zero.
What's Next
Your data pipeline is now fully automated! Data will be refreshed in BigQuery every 5 minutes. The final step is to connect Looker Studio to this data and build a compelling visualization.