Prepare Backend Repo
Step 1: Fork the Backend Repository
You need your own copy of the application repository to make changes. This is done by "forking" it.
-
Access the Cloud Mastery backend repository here: https://github.com/Pawa-IT-Solutions/cloud-mastery-backend
-
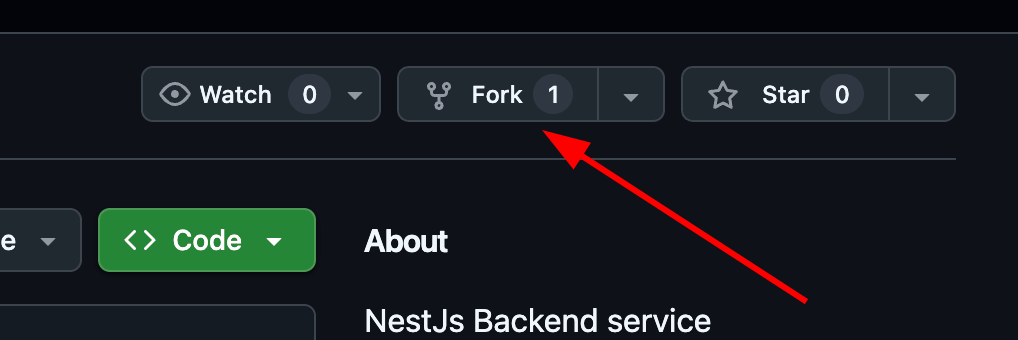
Click the Fork button in the top-right corner.
-
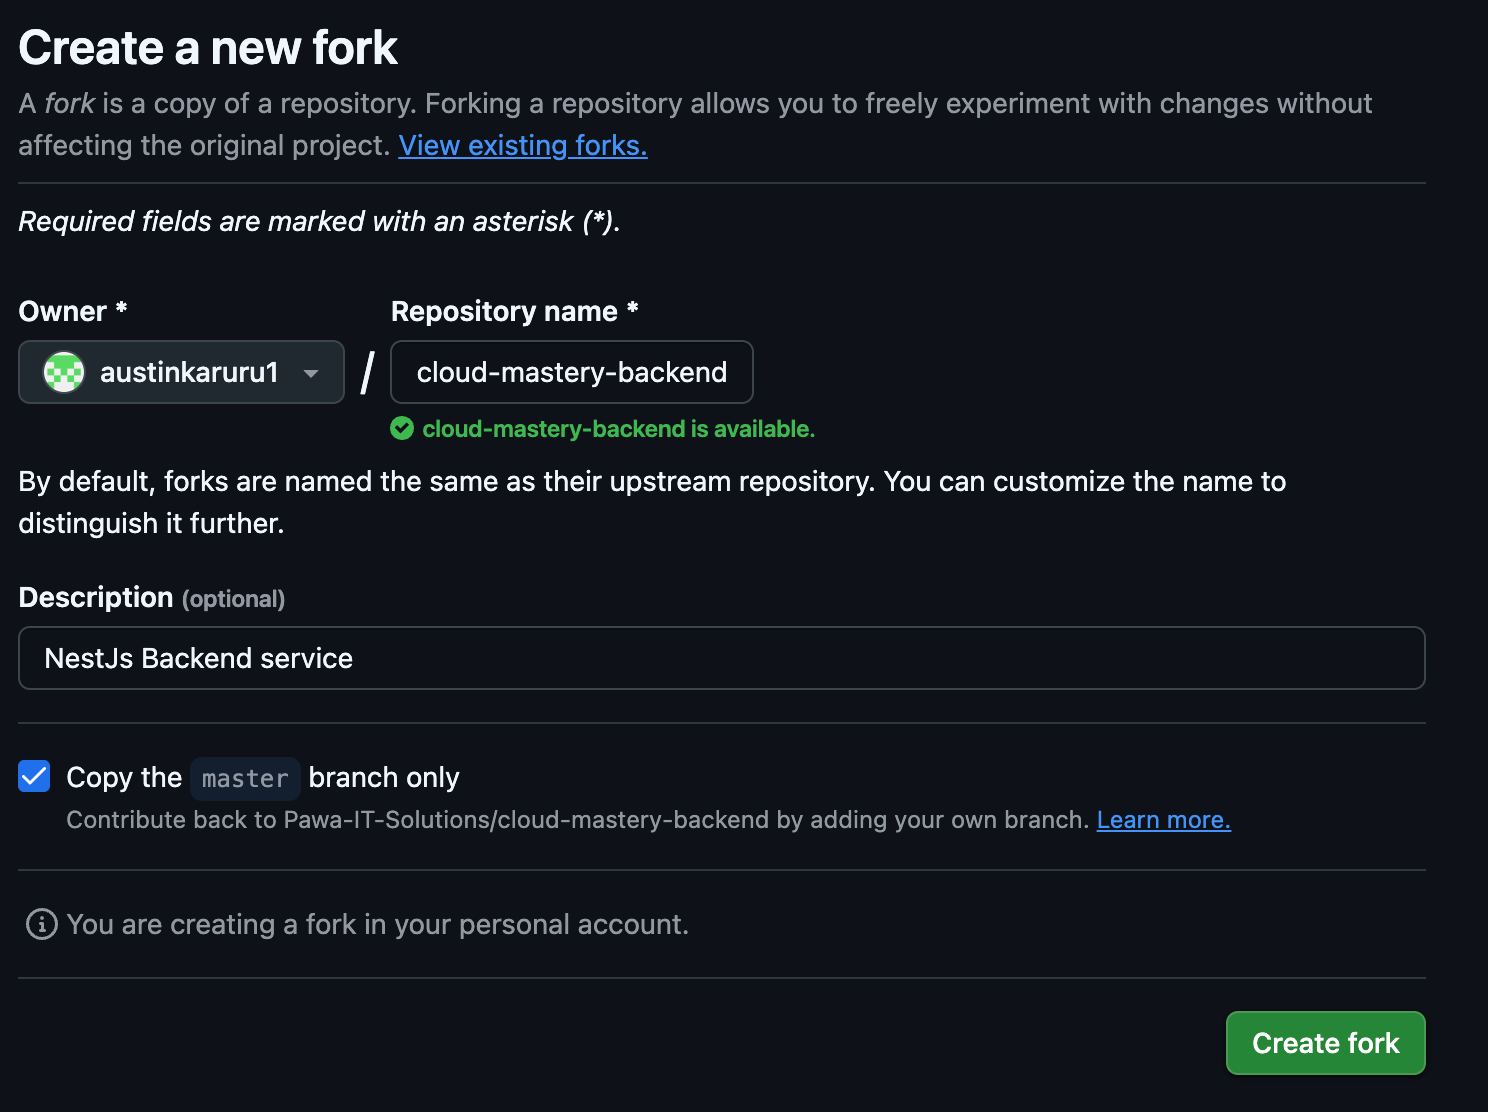
On the "Create a new fork" page, you can leave the details as they are and click Create fork.
-
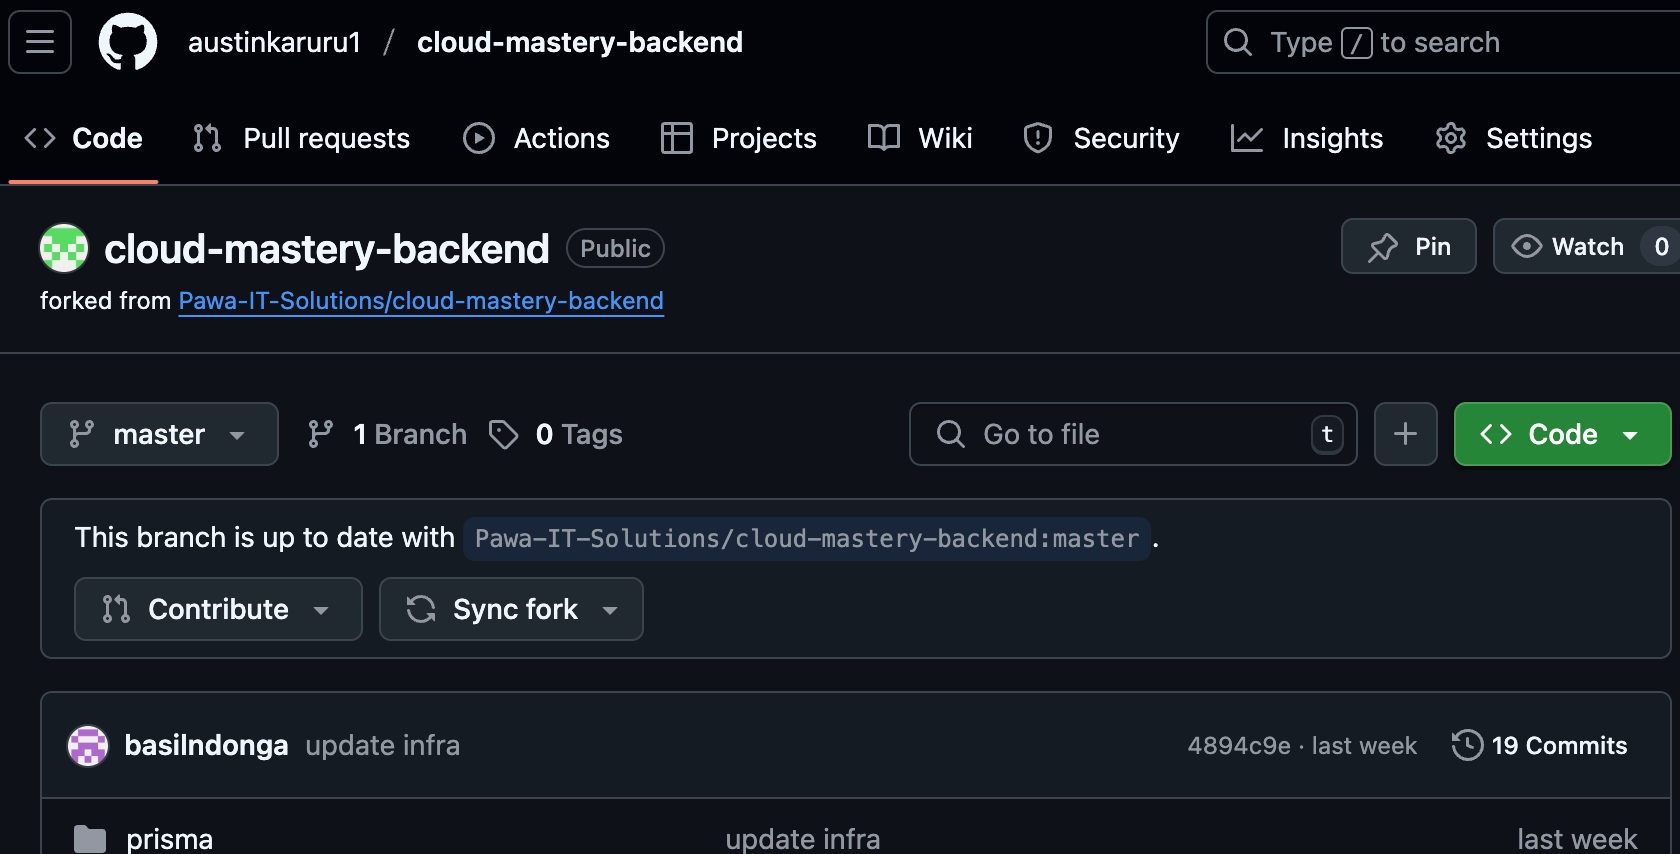
You will be redirected to your own forked copy of the repository. It is now ready!
Step 2: Clone the Repository to Cloud Shell
Now you can clone your forked repository.
-
In GitHub, navigate to your forked
cloud-mastery-backendrepository. Click the green <> Code button, select the SSH tab, and copy the SSH URL.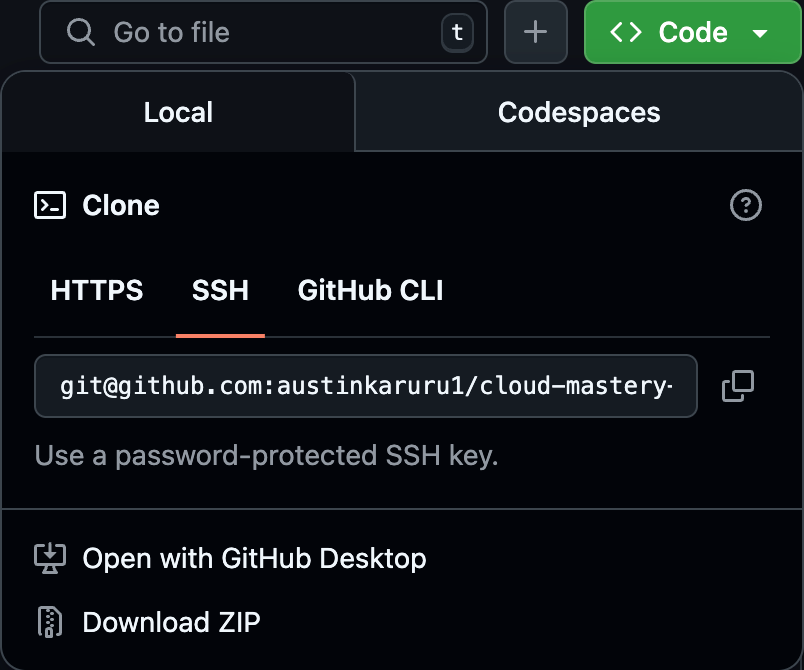
-
Go back to your Cloud Shell terminal and run the
git clonecommand, pasting the URL you just copied. Replace the URL with your own forked repository SSH URL -
When prompted
Are you sure you want to continue connecting (yes/no/[fingerprint])?, typeyesand pressEnter.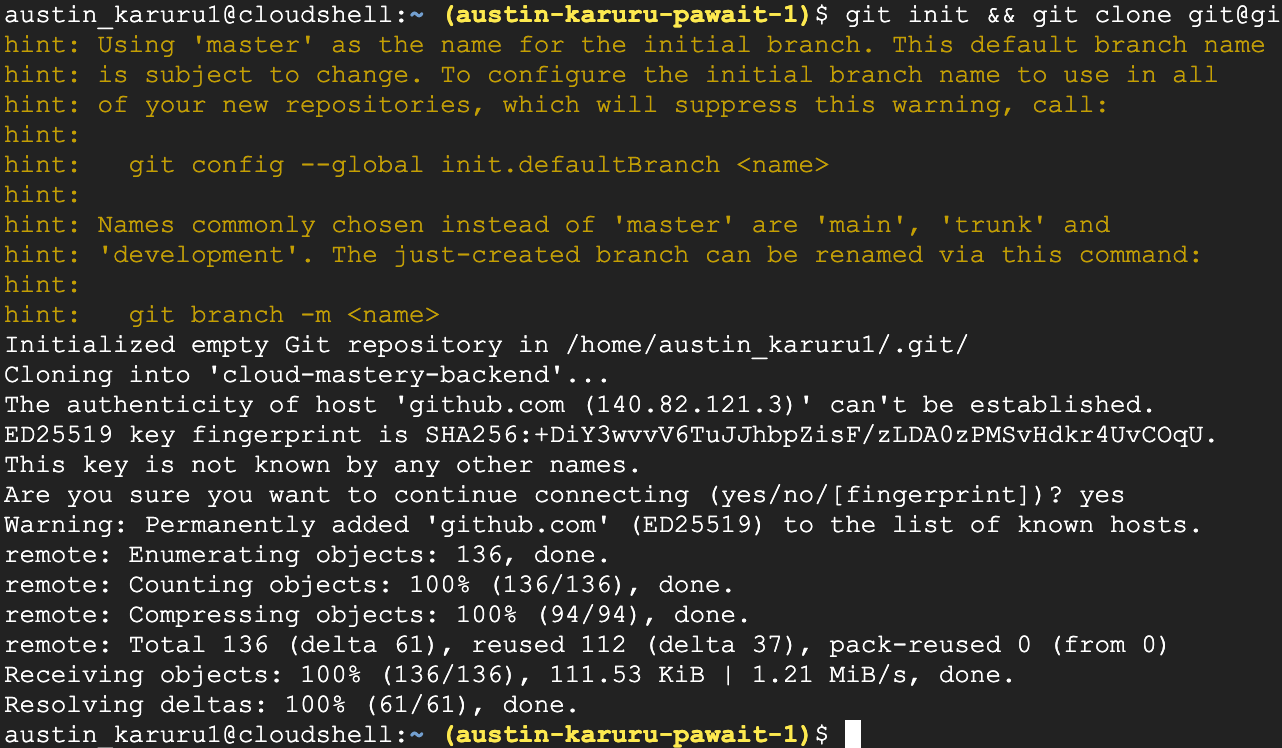
-
Navigate into the newly created directory and list its contents.

Next Steps
Great job! Your GitHub account is configured, and you have successfully cloned the backend application code into your Cloud Shell. Next, we will set up the continuous integration pipeline using Cloud Build.