Setup the Frontend Repository
Now we will repeat the process for the cloud-mastery-frontend application. We will fork the repository to our GitHub account and then clone it into our Cloud Shell environment.
Step 1: Fork the Frontend Repository
-
Access the Cloud Mastery frontend repository here: https://github.com/Pawa-IT-Solutions/cloud-mastery-frontend
-
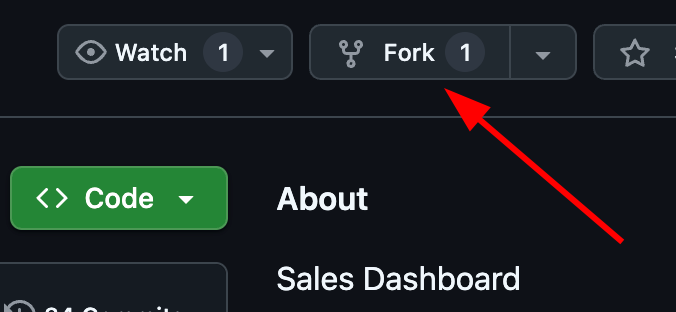
Just like before, click the Fork button in the top-right corner.
-
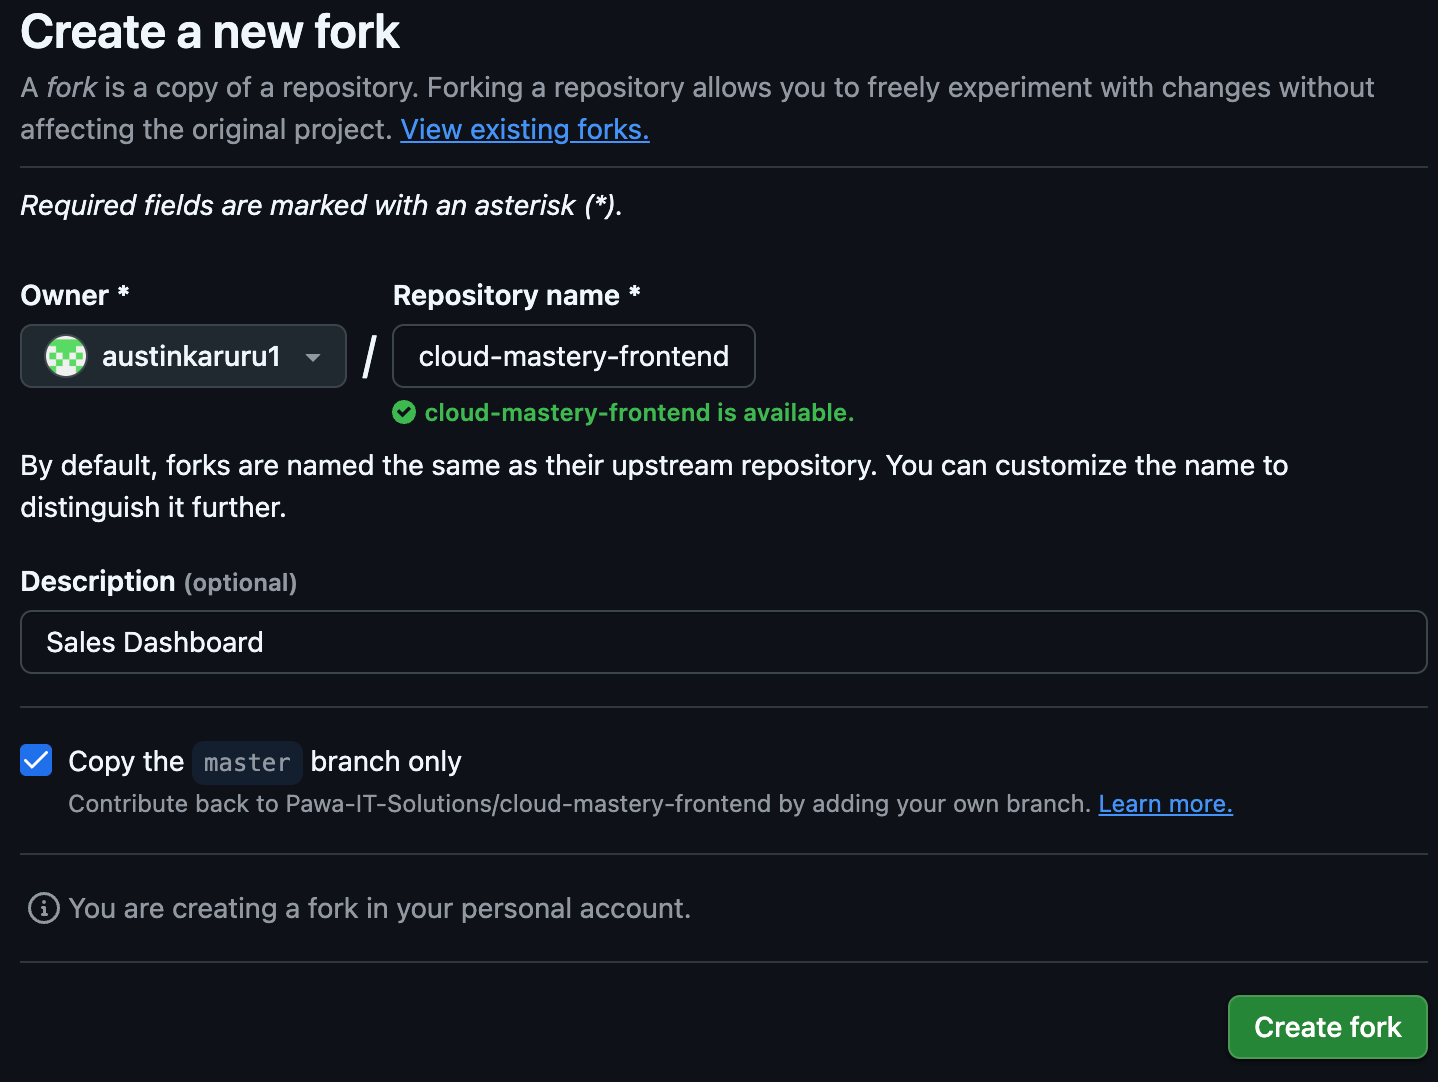
On the "Create a new fork" page, you can accept the default settings and click Create fork.
-
You will be redirected to your personal forked copy of the
cloud-mastery-frontendrepository.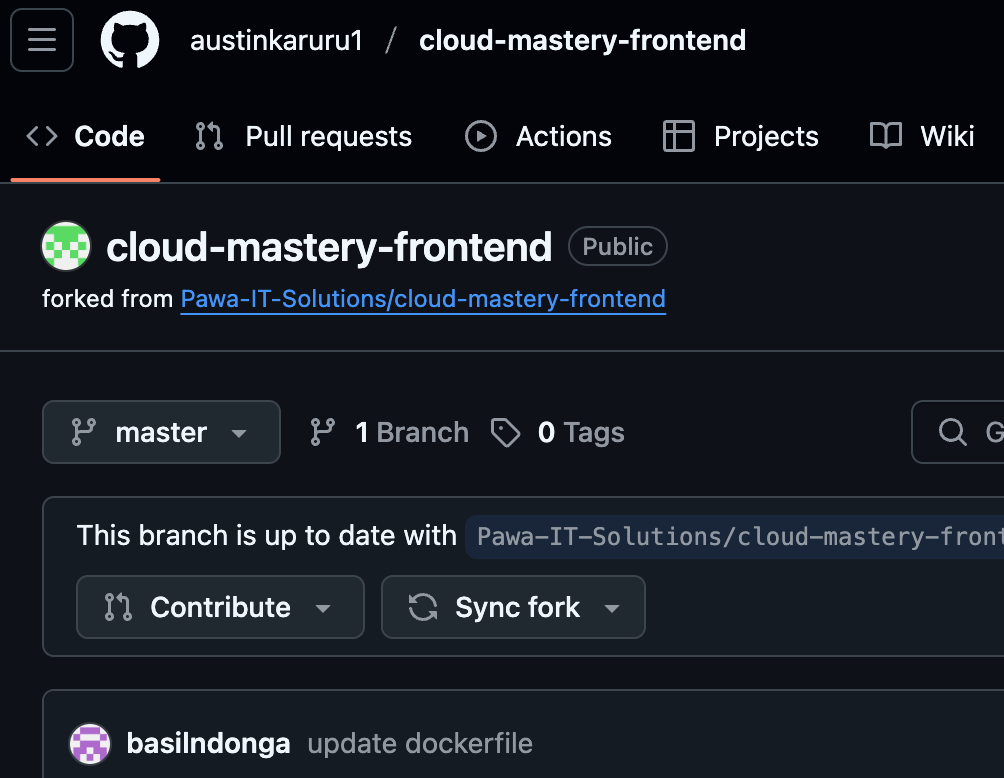
Step 2: Clone the Frontend Repository to Cloud Shell
We will clone the frontend into a separate directory within our Cloud Shell home directory.
-
In GitHub, navigate to your forked
cloud-mastery-frontendrepository. Click the green <> Code button, select the SSH tab, and copy the SSH URL.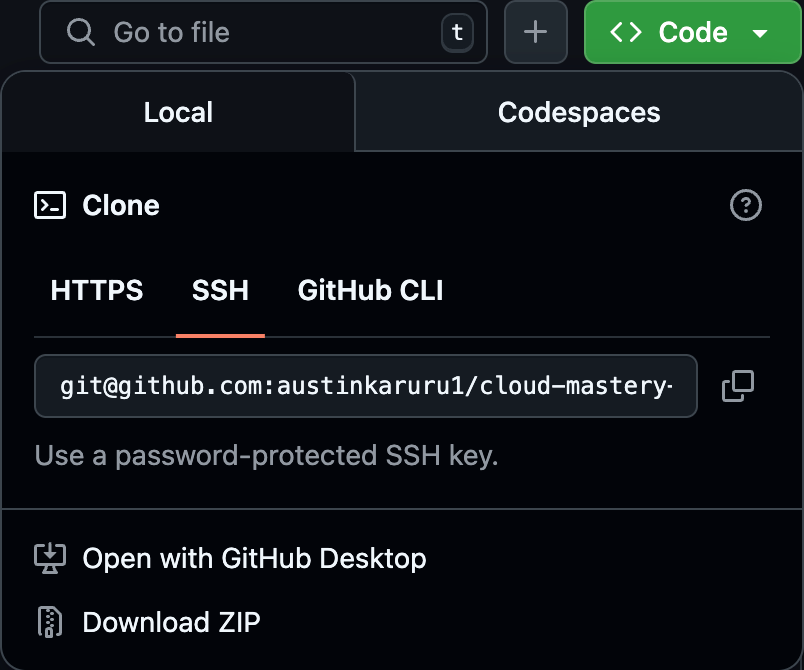
-
Navigate back to your Google Cloud Shell tab. Your current directory should be
~/cloud-mastery-backend. First, go back to your home directory.Working with Multiple Terminals Open a new Cloud Shell terminal tab by clicking the
+icon. This is a great way to manage separate tasks. For this guide, we will perform the clone from the home directory in the same terminal.
-
Run the
git clonecommand, pasting the frontend repository's SSH URL you just copied. Replace the URL with your own forked repository SSH URL
-
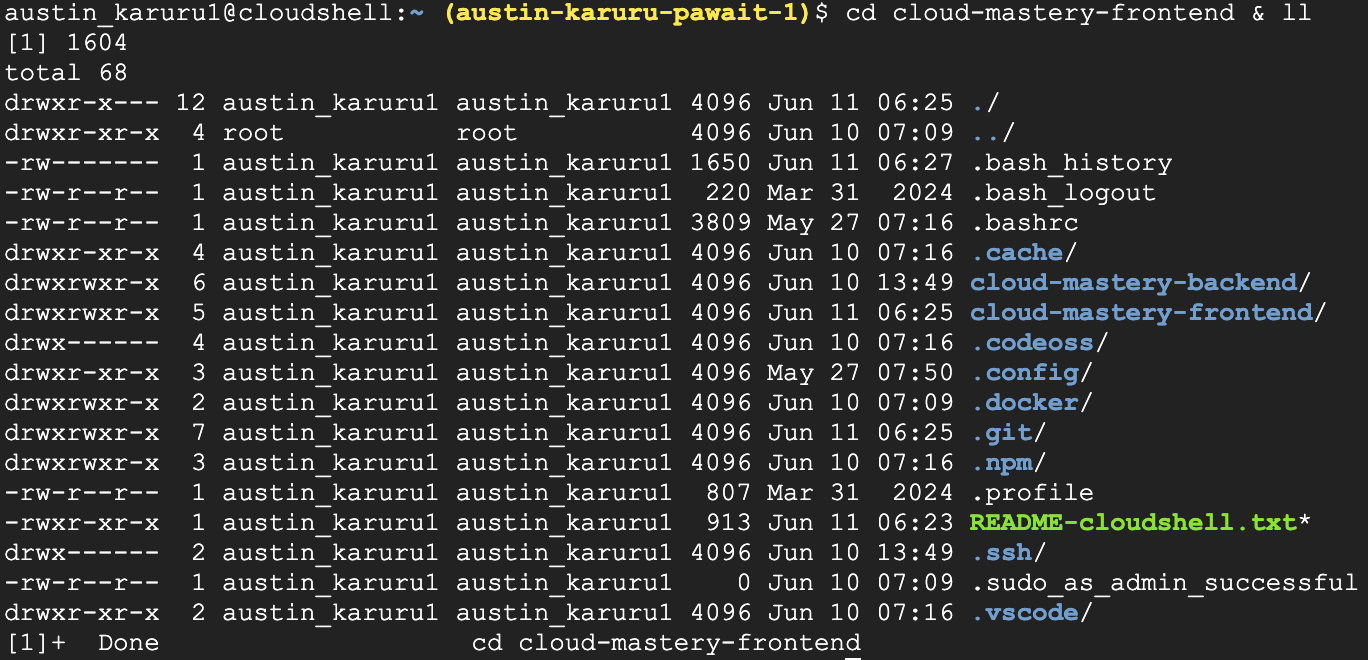
List the contents of your home directory. You should now see folders for both the backend and frontend repositories.

-
Navigate into the new frontend directory to confirm the files are there.
Next Steps
Frontend repository is ready! You now have the source code for both the backend and frontend applications in your Cloud Shell. Next, we will create the Cloud Build trigger to automate the deployment of the frontend.